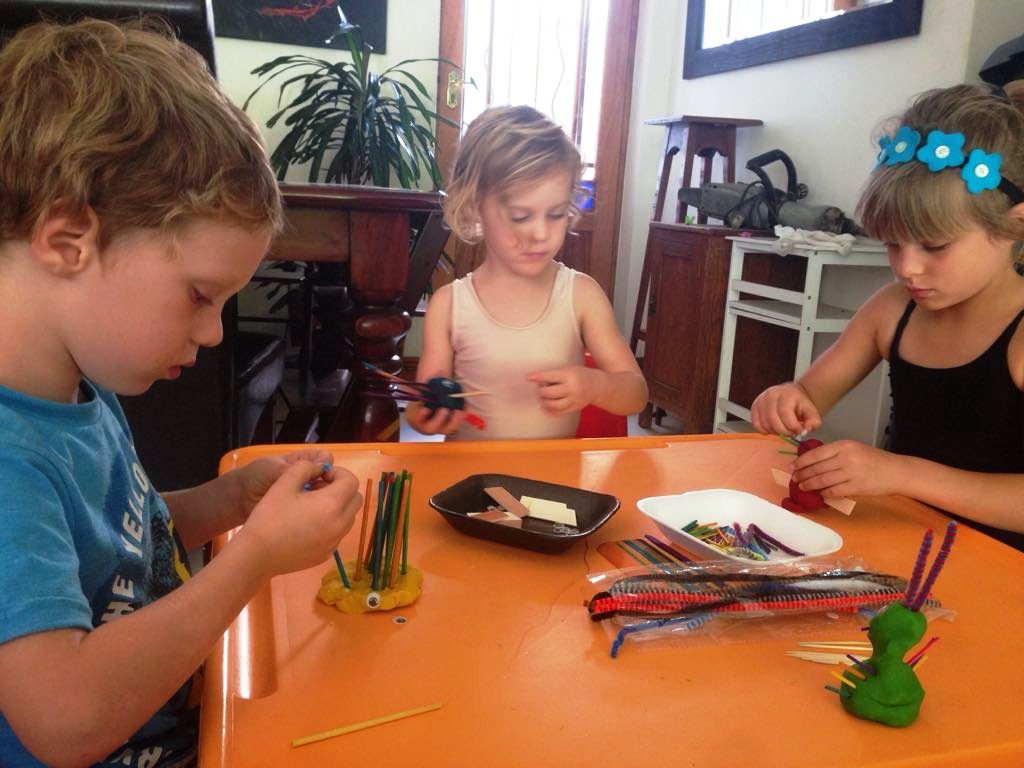
Just in time for the school holidays, here are some great ideas from Celeste Rushby (Munchkins Coach, Occupational Therapist and mom of three) for helping your young children improve their fine motor skills, while simultaneously getting some much-needed quality time by having fun together! The best part is that most of these activities can be done with very little prep or clean-up, and are mostly made with materials found at home!
Playdough Creatures
You will need:
- Playdough (see this easy recipe for homemade playdough)
- Googly eyes
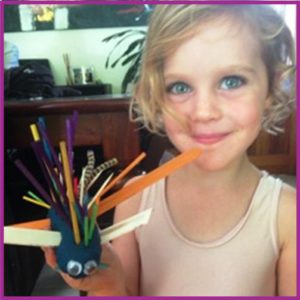
- Any other random objects to decorate the monsters (e.g. toothpicks, beads, various colourful sticks, pipe cleaners, gem stones)
Form your playdough into any shaped creature: give it as many eyes as you want, and use any combination of materials to make a funky, fun creation. Have a good laugh together, maybe take some photos and then dismantle your creature so you can make a new one.
Chalk and Spray
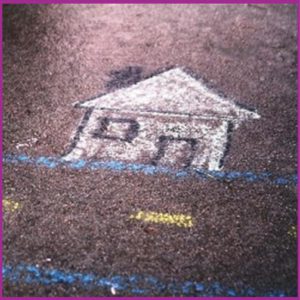
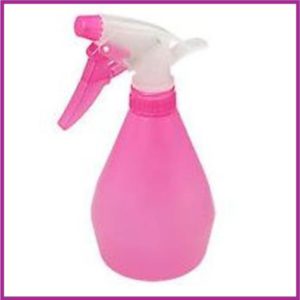
You will need:
- Chalk
- A hand-held spray bottle filled with water
Draw pictures all over the concrete pavement or even on the outside wall. When you are done, you can use the spray bottle to squirt the chalk off.
Making a Hedgehog
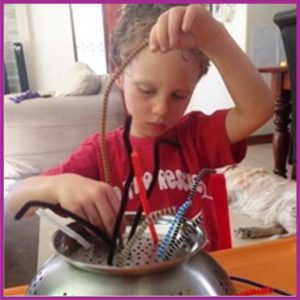
You will need:
- A colander
- Some pipe cleaners (preferably in a variety of colours)
- Optional: Two googly eyes and a bit of presstick
Simply let your child post pipe cleaners into the holes of the colander. If you prefer, you can include two googly eyes in front – and voila, you have a hedgehog!
Note: For a bit of variety, the same activity can be done using plastic flowers instead of pipe cleaners. It’s not exactly a hedgehog anymore, but it is still just as much fun!
Colour Lab
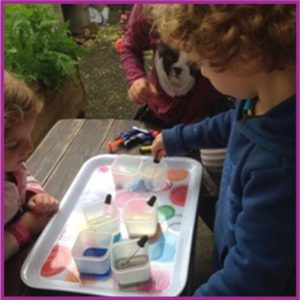
You will need:
- 3 to 4 small (but sturdy) cups/glasses (clear or white work the best)
- Water
- Red, yellow and blue food colouring (or whatever colours you have)
- 3 eye droppers
Mix some water with just a drop or two of food colouring – each colour in its own cup/glass. Show the children how to pinch the eye dropper to suck up coloured water and empty it into a cup. Then add another colour to it the same way and see what colour it turns into. Add a little more of that colour. What happens now? Now make another combination in another cup…
Here is a little reminder of basic colour combinations.
Crunchy Sticks
You will need:
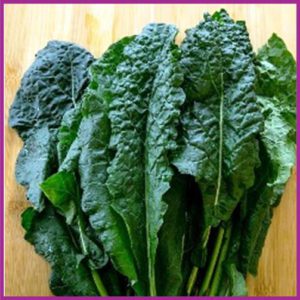
- The kale or spinach (that you are busy preparing for supper)
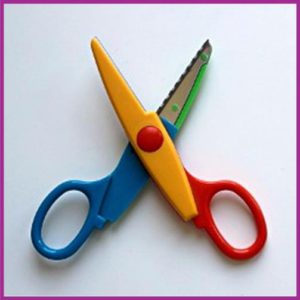
- Child-sized scissors
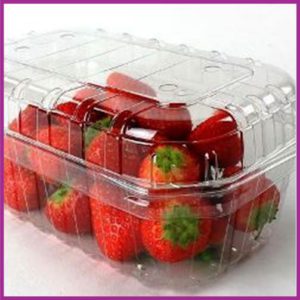
- An empty plastic fruit punnet – like the ones that grapes, strawberries or peaches often come in (that you scratched out of your recycling bin)
Want to keep your kids happily entertained while you prepare supper? Give them the stalks of the kale or spinach that you’ve just removed the leaves from, and a pair of scissors. See how the crunchy bits fly into the air with each crunchy snip. Kids love it! If they are too small for this part – you can take care of the snipping yourself. Then, when they are all done, show them the small holes that are in the top of the plastic fruit punnet and ask them to collect all the little pieces of kale/spinach stalks all over (and under) the table, so that they can post them all into the little holes. Double-whammy: fine motor exercise, loads of fun, and they cleaned up their own mess! Win-win!
Going Dotty
You will need:
- Paper
- Colour pen/koki/twisty crayons
- Tissue paper
- Craft glue
- The artistic talent of a 5-year old
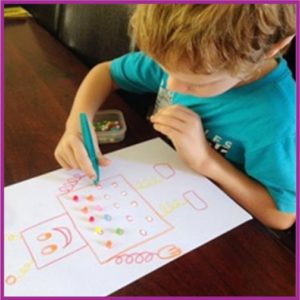
Attempt to draw a butterfly, robot (or whatever your child loves) that needs spots or buttons (see example below under ‘’Super Spotty’’). I’m sure they will think your drawing is beautiful, so don’t worry. Now draw small circles (about the size of a R1 coin) where the spots/buttons need to go. Squeeze a little blob of craft glue onto each one. Give your child a small strip of tissue paper (just tear as needed, no need to get overly prepped before hand) to roll into a ball using only their thumb, index and middle fingers of their dominant hand. When it resembles a ball, let your child stick it onto a glue blob. Now isn’t that gorgeous! Keep going! This is quite tiring because it’s a marathon workout for those pincer finger friends. So be encouraging and keep your eye on the prize!
Super Spotty (following Going Dotty)
You will need:
- Paper
- Colour pen/koki/twisty crayons
- Tiny fluffy pom-poms (available at craft shops)
- Craft glue
- Tweezers
After “Going Dotty”, you must have this juvenile drawing thing waxed! So, go ahead and draw another creature that needs spots/buttons – maybe a leopard, a rocket ship, or even a bare tree that needs some fruit? Draw much smaller circles this time – small enough to be covered by the tiny pom-poms. Put a little blob of glue on each one. Spread the pom-poms out in a shallow dish. Show the child how to pick up a little pom-pom with the tweezers (using one hand only) and place it on the spot of glue. Now encourage them to do the rest.
Fuzzy Threading
You will need:
- Pipe cleaners
- Beads (holes big enough for pipe cleaners to fit through)
Instead of using string, let your child thread the beads onto pipe cleaners instead. Just bend a little hook at the bottom so the beads don’t fall off, and away you go. This would be a good way to build your child’s threading confidence before upgrading to wool or string.
Styrofoam Aliens

You will need:
- Styrofoam punnet bases that your fruit/veg was packaged in or alternatively, you can use playdough
- Small colourful sticks (otherwise toothpicks or matchsticks will do)
- Either googly eyes and glue, or eye stickers
- Optional: any other decorative stickers (spots, stars etc)
Turn the punnet upside down. Allow your child to place the eyes where ever they see fit. Then, let them press the sticks into the Styrofoam where ever they want and decorate with stickers as they want too. Behold, a glorious Styrofoam alien (and the stronger fingers that made it)!
Tear it Up

You will need
- Last year’s phone book (or this years’ for that matter – because who still uses these?)
Just hand it over to your child and let them go wild, ripping all the pages out. Not only is it great for fine motor skills, but it’s a fantastic stress release tool too! Now, get them to gather it all up to pop into the recycling bin.
Garden Collage
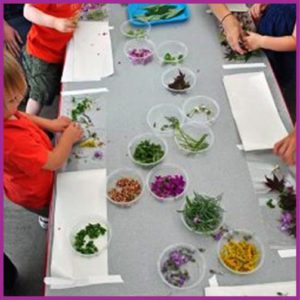
You will need:
- Contact paper
- A small table
- Masking tape or painter’s tape
- A garden
Take the table to the beautiful outdoors. Place contact paper on the table, sticky side up. Put a strip of tape on either side to secure it to the table (don’t want the wind sending it towards your face!) Let your children collect leaves, stones, sand, flowers, berries, etc. and put them on the contact paper to make a beautiful garden collage. Just keep an eye on them to make sure that no unsuspecting snails are added to the collage… poor little guys.
Note: If you want to display this work of art afterwards, you could stick it onto poster paper instead of directly onto the table.
Dolly’s Washing
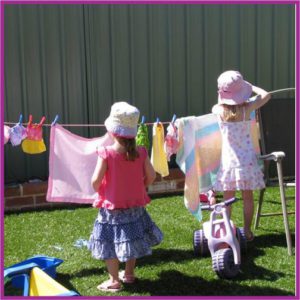
You will need:
- Dolly’s clothes
- Soapy water
- String
- Something the kids can reach that you can tie the new washing line onto (e.g. low branches or heavy garden chairs)
- Pegs
Let the kids give the doll clothes a good wash in the soapy water. Teach them how to wring the water out of the washing. Make a washing line that they can easily reach (at about face level). Let them use pegs to hang up the washing themselves. Pegs are fantastic little pincer grip strengtheners!
Spaghetti Beads
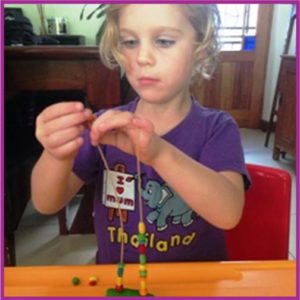
You will need:
- 2 to 3 pieces of raw spaghetti
- A Styrofoam block, or a blob of playdough
- Beads
Place the spaghetti standing upright into the Styrofoam block or playdough blob. Let your child thread the beads onto it. Remember that bigger beads are needed for beginners. As they improve their confidence and skill, you can provide smaller beads to make it a little more challenging.
Button Mural
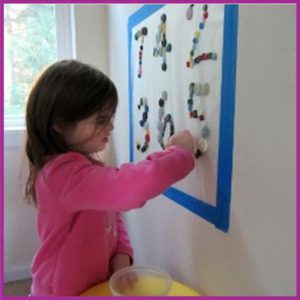
You will need:
- Contact paper
- Masking/painter’s tape
- Permanent marker
- A bowl of colourful buttons (although dried beans or colourful flat beads would work too)
Put a large piece of contact paper up against the wall (at your child’s face level), non-sticky side against the wall. Secure it in place using tape along the edges. Draw a simple picture, some numbers, letters or a word (perhaps the child’s name) on the sticky paper using the marker. Now let your child stick the buttons along the lines of what you’ve drawn/written to make a colourful mural.
There you have it – no more excuses! We’ve given you more than enough easy, practical ideas on how to improve your children’s fine motor skills while topping up their love tanks with good old fashioned quality time and fun AND reducing (or eliminating) screen time this coming holidays!


